Replacing toner cartridges regularly is crucial to achieve optimal printing results. However, many people are unsure how to do the exchange correctly. In this blog post, we offer you a simple step-by-step guide to easily replace toner cartridges and get your printer up and running again.
Step 1: Preparation Make sure your printer is turned off and wait a few minutes to make sure the cartridge has cooled down. Read your printer's user manual for detailed information about replacing the toner cartridge. Prepare the new toner cartridge by carefully removing it from the packaging and shaking it to distribute the toner evenly.
Step 2: Access the toner cartridge Open the printer according to the manufacturer's instructions. In most laser printers, the toner cartridge is located underneath the printer cover or in a special door on the front of the device. Be careful not to touch the cartridge unnecessarily to avoid damage.
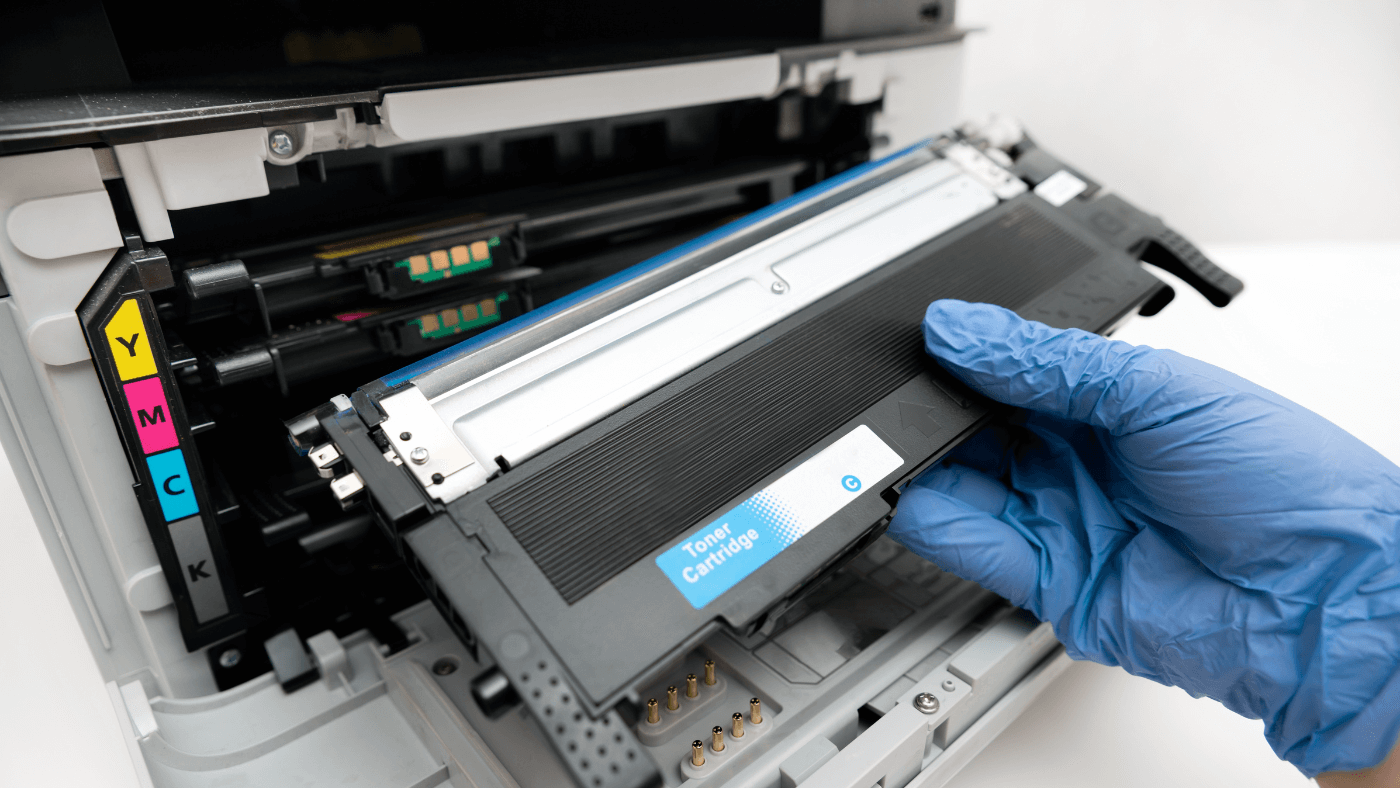
Step 3: Remove the old toner cartridge To remove the old toner cartridge, look for a release lever or tab. Release the lock and carefully pull out the toner cartridge. Set the old cartridge aside to dispose of it later in an environmentally friendly manner.
Step 4: Preparing the new toner cartridge Remove any protective covers or packaging materials from the new toner cartridge. Check to see if there is a band or tab on the cartridge that seals the toner. Gently peel this off to release the toner. Swirl or shake the new cartridge slightly to distribute the toner evenly.
Step 5: Install the new toner cartridge Hold the new toner cartridge by the handles or holders provided. Make sure the cartridge is properly aligned and gently slide it into the printer until it clicks securely into place. Make sure all latches are properly engaged.
Step 6: Closing and Testing Close the printer according to the manufacturer's instructions and ensure that any doors or covers are properly closed. Turn on the printer and allow it to initialize for a few minutes. Perform a test print to verify that the new toner cartridge is working properly and producing high-quality prints.
Note: It is possible that your printer may display a message during the initialization process or after replacing the toner cartridge asking you to confirm the replacement or initialize the toner. Follow these instructions to ensure the printer is working properly.
Final Tips:
- Save the new toner cartridge packaging in case you need to return the old cartridge for recycling.
- Keep your printer's toner area clean to ensure the best print quality and toner cartridge longevity.
- Plan the purchase of a new toner cartridge well in advance to ensure a smooth replacement and avoid interruptions in printing operations.
Conclusion: Replacing toner cartridges can be child's play with our step-by-step instructions. Be sure to turn off the printer, follow the manufacturer's instructions, and carefully insert the new toner cartridge. With these simple steps, you will be able to make the replacement quickly and easily to get crisp, high-quality prints again.


